Free Video
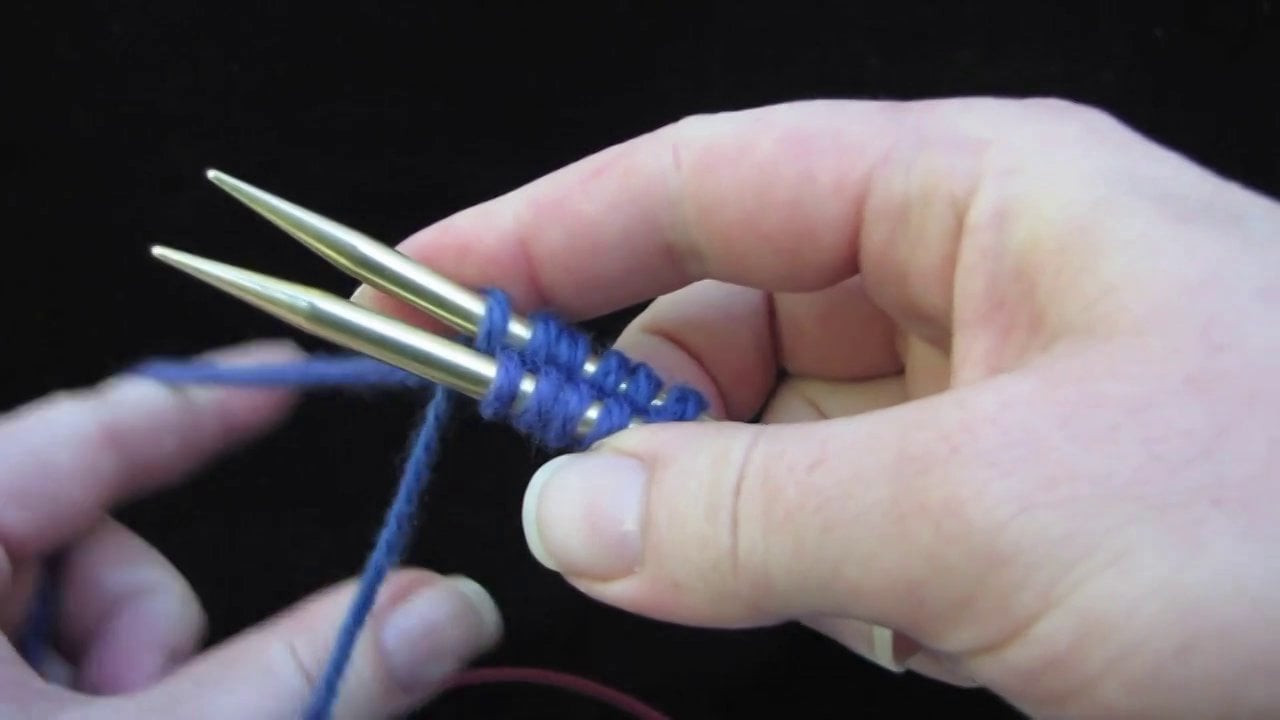
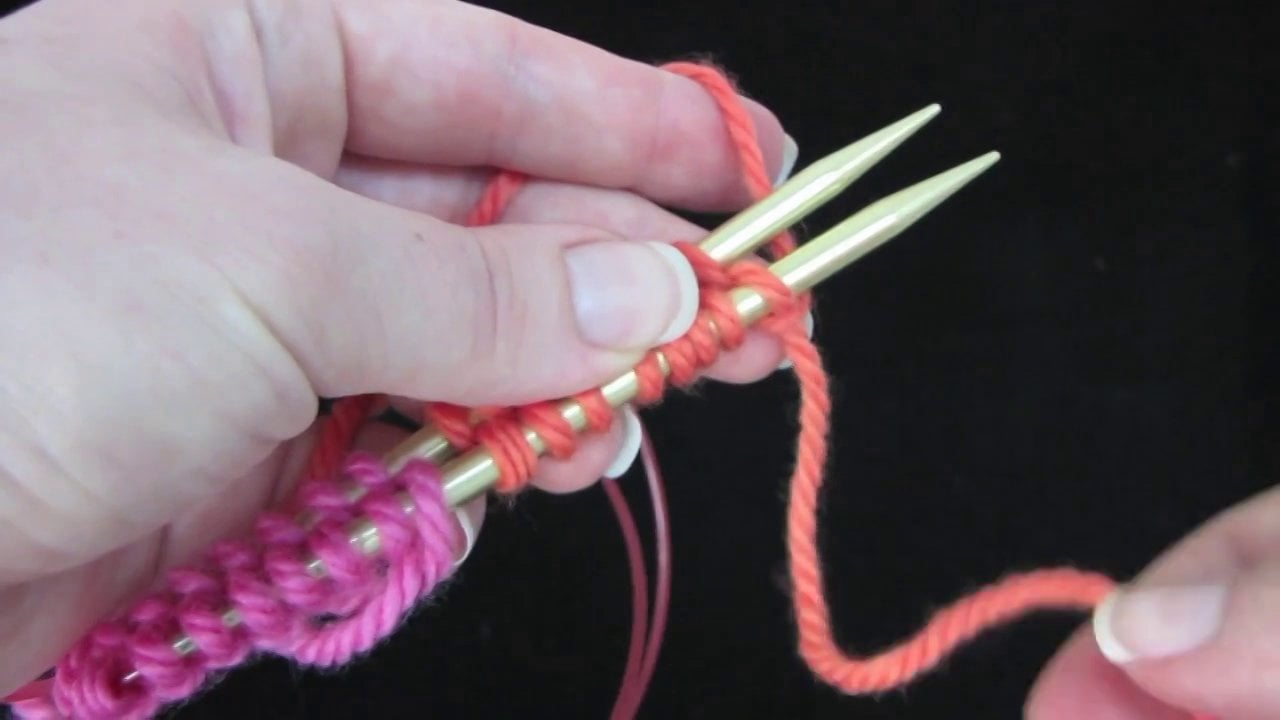
Cable Cast-On
Free Video

Chinese Waitress Cast-On
For a perfectly matching bind-off, use the Double-Chain Bind-Off.
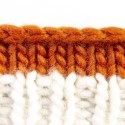
Edging Bind-OffPremium Video
If you have a shawl-collared or a kimono-style sweater and you want to add a five-stitch lace pattern to it the edge, this is a very easy way to do so without knitting a strip of lace and then sewing it onto the edge (which would be slow and also bulky where you had to seam it).
This is the technique used to add the beautiful leaf border to the popular Cedar Leaf Shawlette.
The way that this bind-off works is that you choose an edging pattern from a lace, cable, or stitch-pattern resource, like one of Barbara Walker’s Treasuries of Knitting Patterns.
You then cast on the number of stitches required for the edge pattern and work the first row of the pattern. When you get to the edge where the border stitches meet the work to be bound off, you either p2tog or k2tog across the gap and then turn and work back across the edge.
Frilled Standard Bind-OffFree Video
Frilled Standard Bind-Off

If you’re using this bind-off on something where the edge will be stretched, the bind-off won’t frill but it will still look gorgeous. I recommend that you use this bind-off on any and all lace projects that you’ll be blocking.
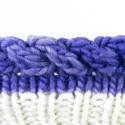
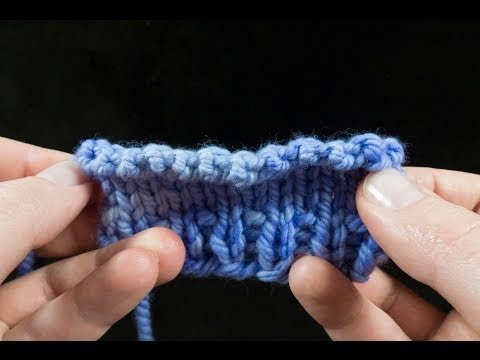
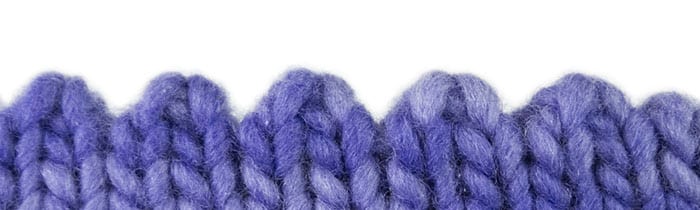
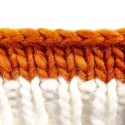
At right you can see a photo of how this bind-off looks on a lace project: The Frilled Standard Bind-Off on a Feather-and-Fan lace swatch.
To see how this bind-off compares to other recommended bind-offs for lace, see Bind-Offs for Lace.
This bind-off gets its name from the Standard Bind-Off, to which an extra movement (which you might recognize from the Suspended Variation Bind-Off) is added.
To get the full effect on this and any frilled or ruffled bind-off, you’ll need to block this it: get it wet, squeeze the water out, and shape the edge with your fingers to make it into a frill.
Hemmed Edge Bind-Off – Purl or PicotPremium Video

This is a perfect bind-off for toe-up socks where you don’t want to do ribbing, because it’s stretchy and sturdy and the edge doesn’t roll.
I really recommend that you try this technique. It’s a beautiful bind-off and you’re going to be very proud of yourself once you finish it.
How to Do Kitchener Stitch Without FearFree Video

How to Do Kitchener Stitch Without Fear
Even if you’ve run into a lot of frustration with this bind-off before, I want you to put that aside and try this with a fresh, new outlook.
I promise you can do it, because I’m going to show you everything slowly and carefully.
Keeping it simple: There are only two basic movement groups that make up this bind-off, and you say them like a mantra in your mind as you work.
The moves are “knit-off purl” and “purl-off knit,” and I explain them in the video and the photo tutorial below.
About sewn bind-offs and delicate yarn: Any time that you’re using a delicate yarn on a sewn bind-off, you’ll want to be careful not to pull too fast or too tight, because the yarn could break. Just go slow.
To undo this bind-off if you mess up, take the tapestry needle and follow the path of yarn back through the stitches the way you came, putting the stitches back on the needles as you go.
If your bind-off ends up being too loose, use your tapestry needle to pick through the stitches one by one and pull them tighter down the seam to tighten them up. If it’s too tight the best thing would be to take the bind-off out and start over.
Download an illustrated guide to Kitchener Stitch here.
Icelandic Bind-OffFree Video

Icelandic Bind-Off
This is my #1 recommended bind-off for binding off on garter stitch.
See how this bind-off compares to other good bind-offs for Garter stitch in Bind-Offs for Garter Stitch.
Be warned that this edge will roll if you do it on Stockinette stitch, so just make sure that that’s a feature that you want on your knitting.
Invisible Ribbed Bind-Off for 1×1 RibPremium Video
If you already know Kitchener Stitch, you’ll have a good foundation for this bind-off. However, it’s not a prerequisite.
Speaking of which, there are no prerequisites in this course – you can jump in wherever you want as long as you can knit and purl and you have an adventurous attitude.
The main thing to keep in mind as you learn the Invisible Ribbed Bind-Off is to take a deep breath, go slow, and KNOW you can do it.
Don’t expect yourself to memorize all the moves right away. It will help you to think of the bind-off as consisting of only 2 basic movements.
Make a swatch of at least 30 stitches so that you can really practice this. As you go, repeat the mantra “knit-off purl, purl-off knit,” “knit-off purl, purl-off knit” in your head as you do these movements, and you will never forget what to do.
Warning: If you’re using a delicate yarn like any single-ply yarn like Noro (which has a tendency to break anyway) or even Malabrigo Worsted, be careful on this bind-off. Don’t work very many stitches before you pull your yarn tight or it might break. Just do one move and then tighten your yarn, and you’ll avoid that problem.
This bind-off, like all sewn bind-offs, is painstaking to undo. If you need to undo this bind-off, just backtrack slowly and check to make sure it looks right as you go.
This is a pretty advanced bind-off so pat yourself on the back if you give it a try — whether or not you succeed at first. Well done!
Download an illustrated guide to the Invisible Ribbed Bind-Off here.
Make sure you watch your tension on this bind-off. Give the bound-off edge a tug every so often as you go to get a feel for how you are doing.
The nice thing about this bind-off is that you can “make up for” bad tension – if you do a few stitches too tight, you can do the next few a little loose, and things will sort of even out.
Jeny’s Surprisingly-Stretchy Bind-Off (JSSBO) for 1×1 RibFree Video

Jeny’s Surprisingly-Stretchy Bind-Off (JSSBO) for 1×1 Rib
Lots of patterns suggest that you use this bind-off, and I agree. I would consider this bind-off “required reading” for intermediate-level knitters.
JSSBO would work well for the ribbing at the bottom of a top-down sweater or at the brim of a top-down hat — anywhere you want the bind-off to not look stretched-out.
This bind-off is also a great choice for binding off lace projects.
This bind-off was invented by Jeny Staiman and published in Knitty in Fall 2009.
Judy’s Magic Cast-On (JMCO)Free Video
Judy’s Magic Cast-On (JMCO)
To do Judy’s Magic Cast-On (JMCO) for Two-at-at-Time Toe-Up Socks, see this video.
The matching bind-off for this and all double-sided cast-ons is Kitchener Stitch.
Judy’s Magic Cast-On (JMCO) for Two-at-a-Time KnittingFree Video
Judy’s Magic Cast-On (JMCO) for Two-at-a-Time Knitting
The matching bind-off for this and all double-sided cast-ons is Kitchener Stitch.
Kitchener Double-Rib Bind-OffPremium Video
The trick to this bind off (and it’s only a little scary) is to take the stitches off the needle and slide them onto two needles – one needle into the knits (which will naturally come forward) and one needle into the purls (which naturally recede).
Then all that remains is to bind off the stitches with Kitchener Stitch (which I show you in this tutorial as well as in its own place in this course).
Take it from me that this technique is about 100 times easier than the Invisible Ribbed Bind-Off for 2×2 Rib.
Ruffle Bind-OffPremium Video
How it works: On the RS row before you want to create the ruffle, you increase drastically across the row (which, by the way, means you’re going to want to use some very pointy knitting needles).
Then you knit a few rows in St st and these rows, being crowded because you’ve increased the number of stitches so much, kind of fold back on each other — that’s what makes the ruffle.
The reason this is considered slow is because of the time it takes to knit the 5 rows in St st before you actually bind off.
This is a bind-off you absolutely must block and shape by hand to make it as ruffled as possible. Get it wet, squeeze the water out, lay it out on a towel, and then use your fingers to pull, widen, and shape each ruffle while the yarn is damp.
Standard Bind-OffPremium Video
Even if you’re an immediate knitter, I suggest that you review the tips and the video for this bind-off, because you’ll learn the correct technique that you’ll need to apply to the other, more complex bind-offs.
This bind-off will roll if you use it on Stockinette stitch unless you block it.
This bind-off also has three variations.
- Front Variation (Default): The chain of stitches appears along the front. To do it, knit every stitch.
- Top Variation: The chain of stitches appears along the top, and is reversible. To do it, alternate between knitting and purling your stitches as you bind off.
- Back Variation: The chain of stitches appears along the back. To do it, purl every stitch OR turn your work around and do the Front Variation on the WS of the work.
I would consider all three variations of this bind-off “required reading” for beginning knitters.
Practice getting this bind-off smooth and even, especially the part where you lift one stitch over the other and off the needle. If that’s hard for you to get right, practice it on a long swatch until the movement is smooth and even and the stitches are not too tight or too loose.
In this technique you will learn an abbreviation which will be used throughout the course:
- BO 1 means “bind-off 1” — pass the second stitch on the right-hand needle over the second stitch and off the right-hand needle.
Premium Video
Even if you don’t have trouble with your tension, you should learn this bind-off because it uses a basic technique (the “suspended” bit) that is used on some more complex bind-offs, namely the Frilled Standard Bind-Off and the Frilled Decrease Bind-Off.
This is called the suspended bind-off variation because this is a variation on the Suspended Bind-Off. I’ve chosen to teach you the variation instead of the original because the variation comes out the same and it’s easier to do.
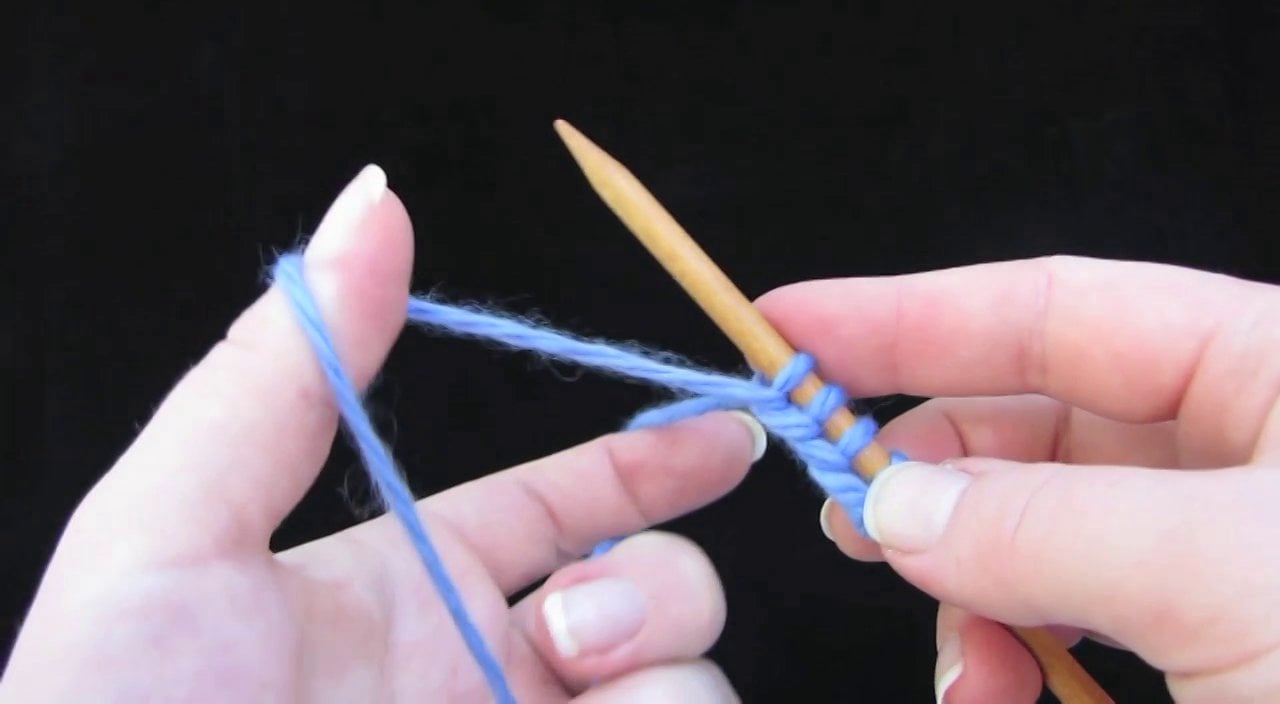
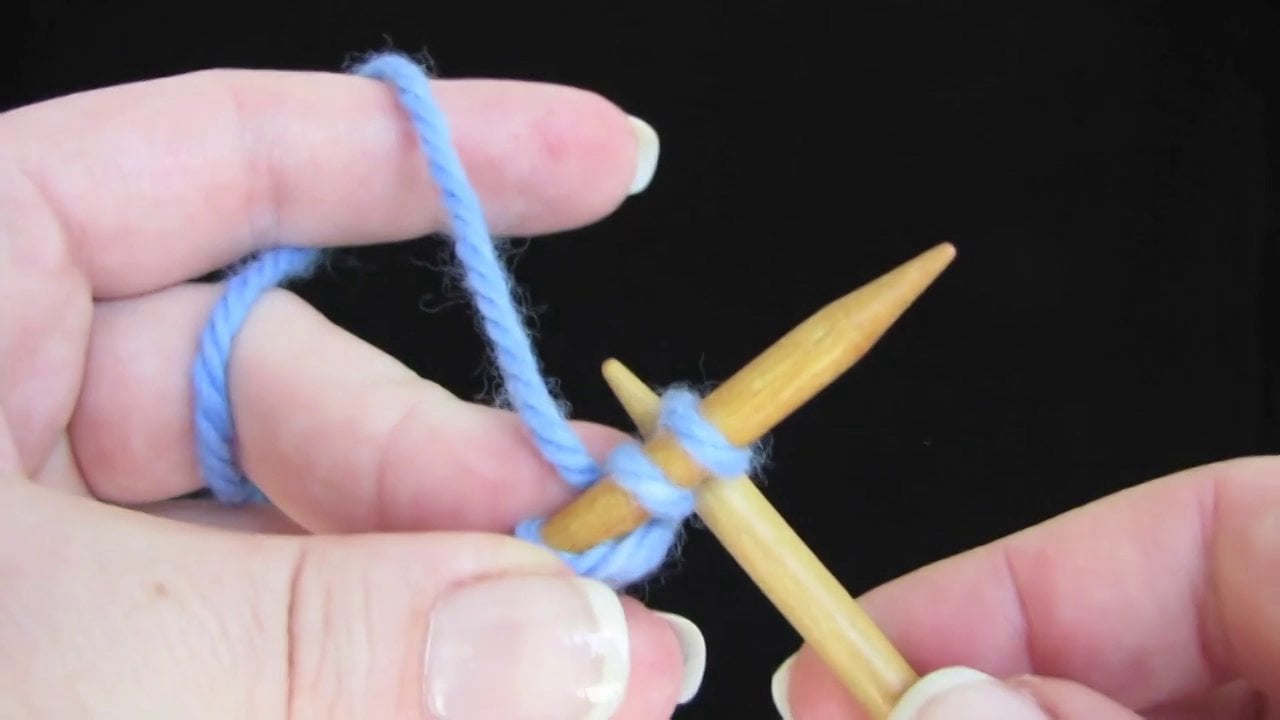
The Long-Tail Cast-OnFree Video